From the Motherland is a series where I pay homage to my Eastern European heritage and share my favorite childhood recipes. Hands-down, varenyky tops that list.

For each of us, there is one dish that defines us. It’s symbolic of childhood, our family, our ancestors, and geography. It’s a constant of our past, present, and future. Something that when we eat it, has the effect of a time machine. For me, it’s this varenyky recipe.
Varenyky (pronounced vah-REH-nee-key) are Ukrainian stuffed dumplings – better known Stateside by their Polish name, pierogi. Shaping varenyky with my mom in our Odessa kitchen is one of my earliest memories. She would expertly mix the dough, portion it, roll it out, and then hand me the little circles to fill with the oniony potato mash.
Her varenyky turned out perfectly uniform each time – each plump varenik filled with just the right amount of potato. Mine, on the other hand, were lopsided and sad-looking. I could never quite manage to use the right amount of filling, but my mom let me practice anyway… Now that I’m an adult, I’m proud to say I’ve mastered the technique.
What are varenyky?
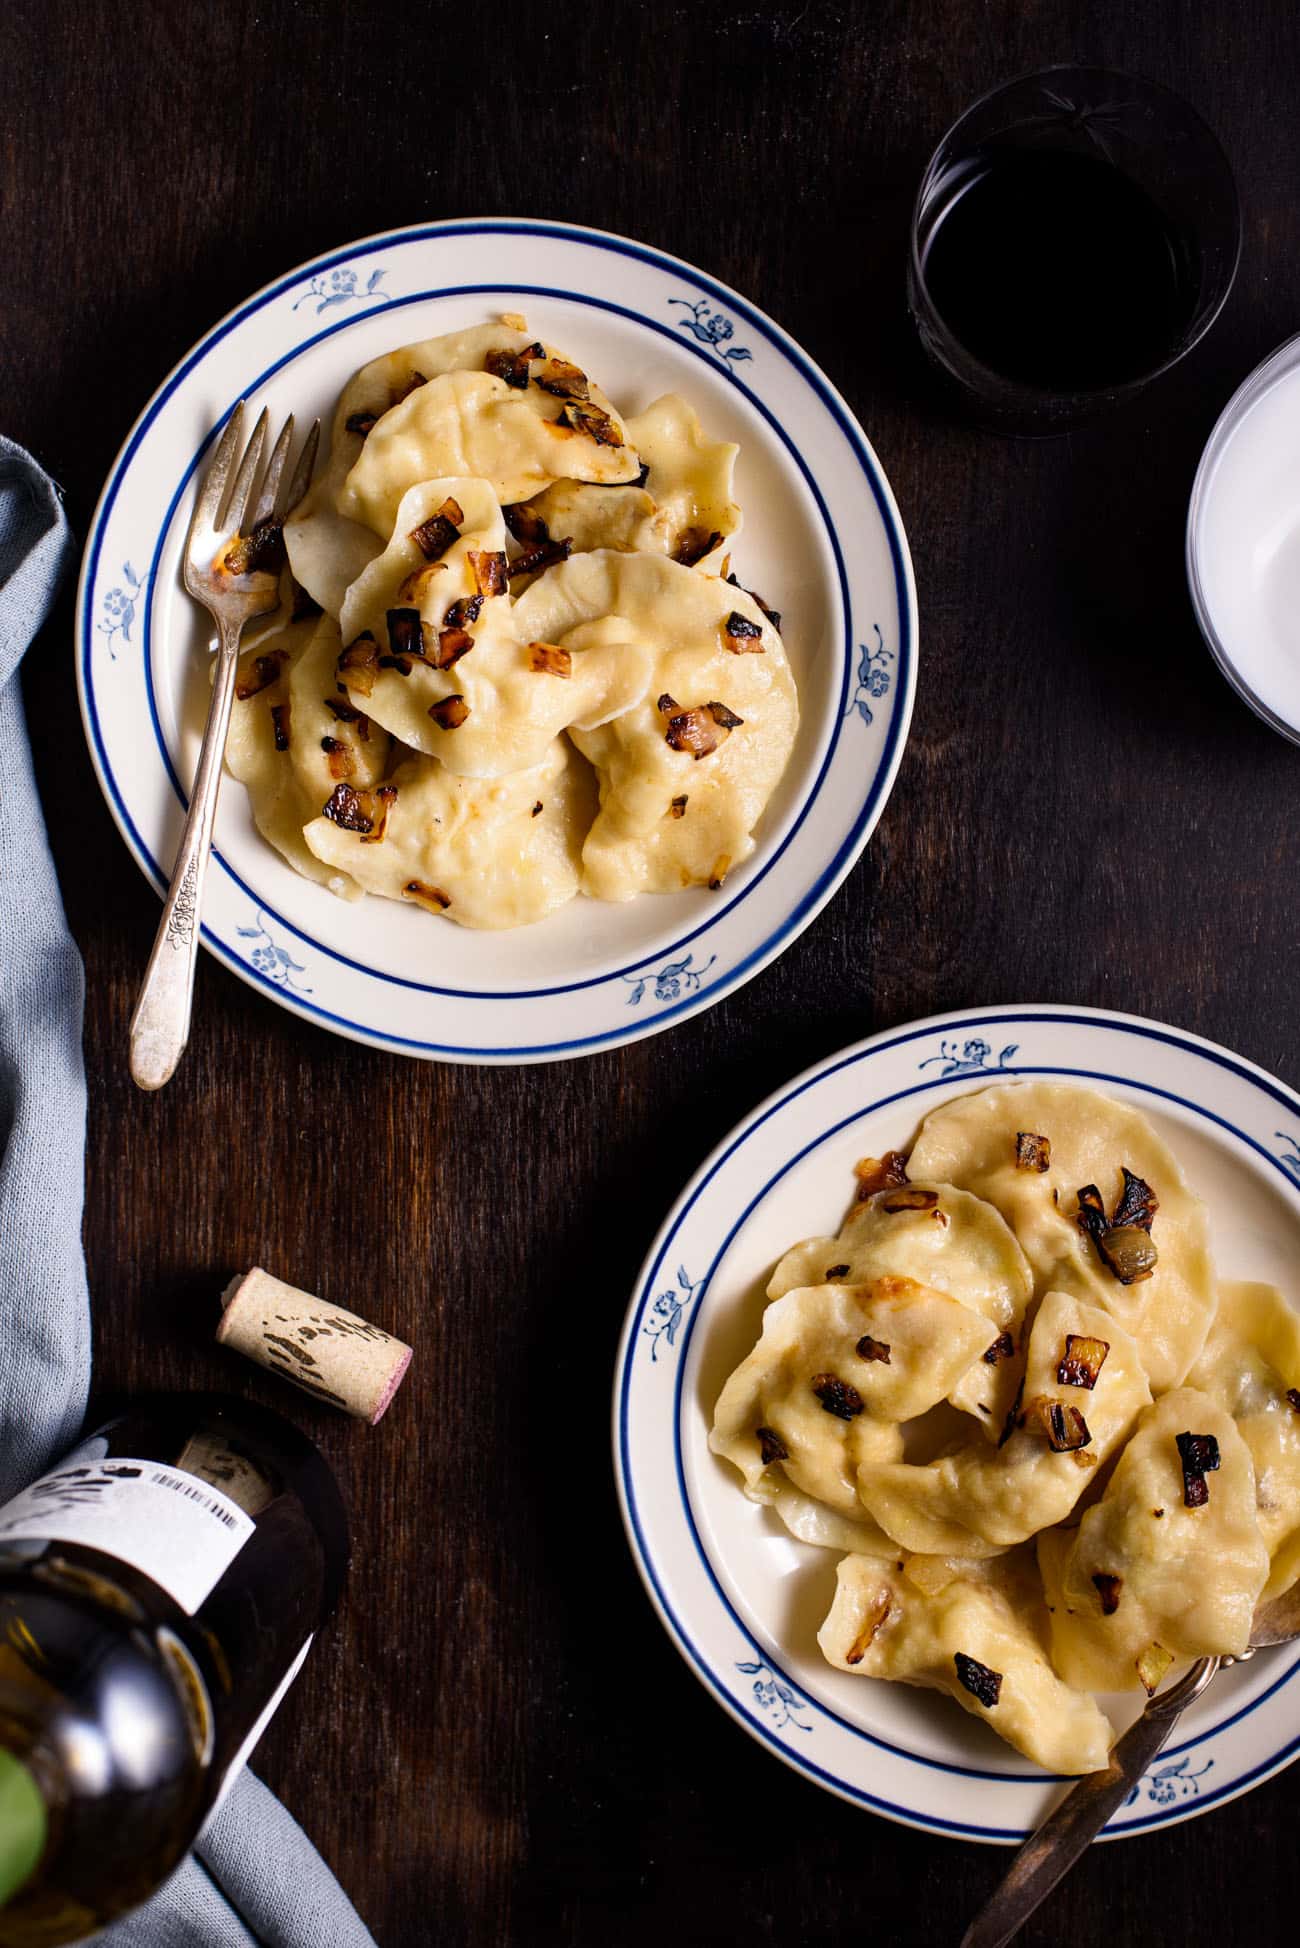
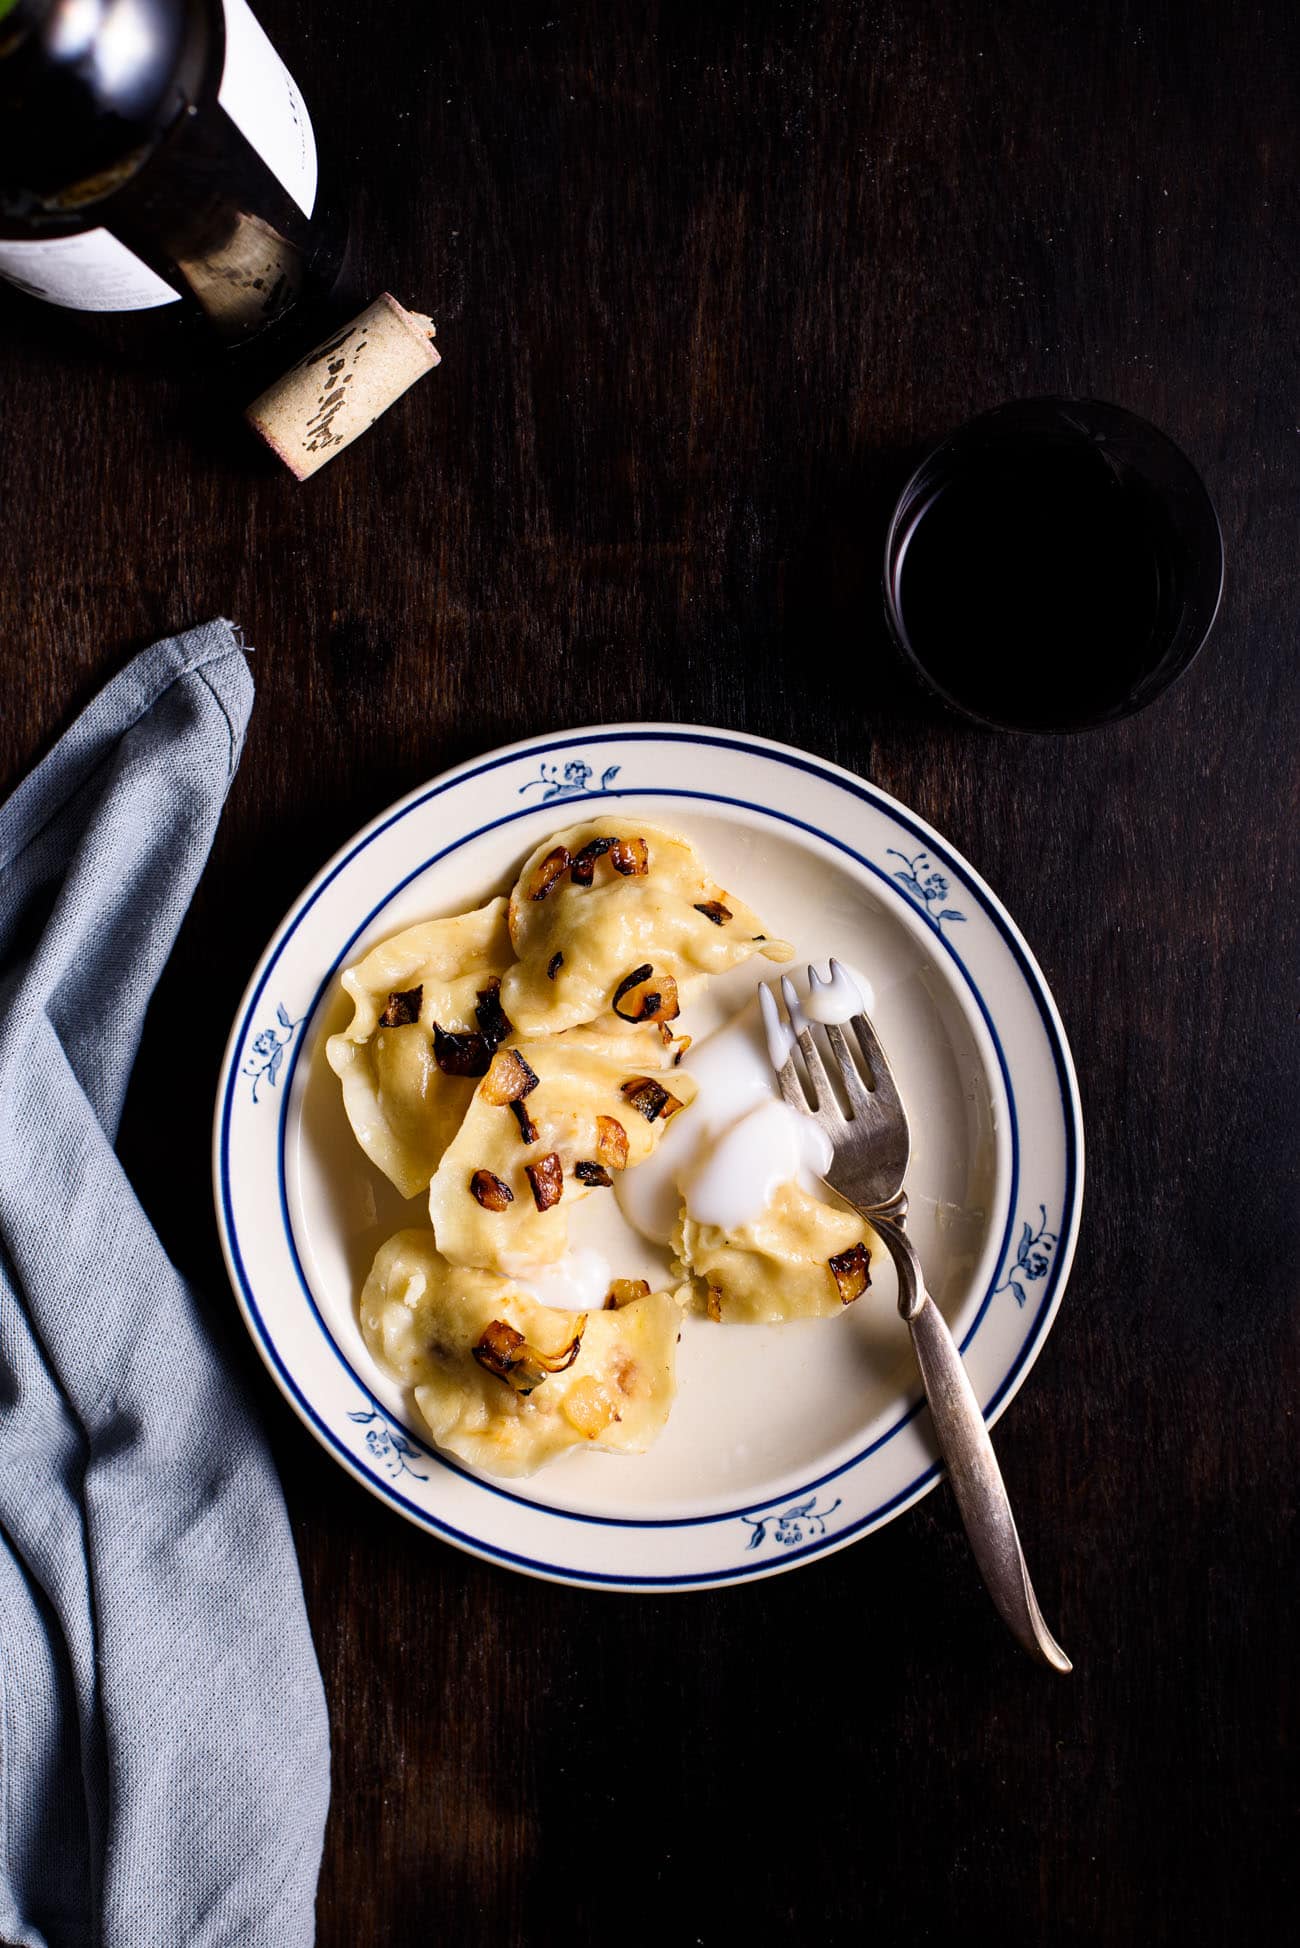
These Ukrainian halfmoon-shaped stuffed dumplings can be sweet or savory, served boiled or fried, garnished with fried onions and served with sour cream, or served plain. These characteristics vary regionally and based on individual family traditions. The recipe below is how my family does varenyky: boiled, tossed with browned onions, lots of sour cream on the side.
What’s the difference between pierogi and varenyky?
There is virtually no difference between Polish pierogi and Ukrainian varenyky. Both are halfmoon-shaped stuffed dumplings. One minor difference is the commitment to sour cream.
Ukrainians love, love, love sour cream and put it on absolutely everything. We would never eat varenyky (sweet or savory) without sour cream and if for some reason we didn’t have any and there was a zombie apocalypse and we couldn’t make it to the store, we wouldn’t even bother making them. Some Polish cooks do serve sour cream alongside their pierogi but it’s my understanding that it’s optional.
Having eaten thousands of pierogi in the company of fellow Ukrainians and a decent amount with my partner’s Polish family, another difference I’ve noticed is that pierogi tend to be slightly larger in size than varenyky.
It’s important to note that “varenyky” and “pierogi” are both plural (“varenik” and “pierog” being the singular versions). Thus, “varenykys” and “pierogies” is incorrect.
Varenyky Fillings
There are a handful of traditional varenyky fillings aside from this potato recipe (my family’s favorite). For a savory version, you can do ground meat, cooked cabbage, mushrooms, or farmer cheese (aka quark). As for sweet fillings – for breakfast or dessert – sour cherries and sweetened farmer cheese are popular.
Varenyky Dough
Varenyky dough is very simple to make. All you need is water, an egg, all-purpose flour, and salt. For a vegan version, you can use 1 tablespoon of oil instead of the egg – although the resulting dough will be slightly less sturdy.
To make the dough, you’ll combine the egg with water and salt, and whisk to break it up. Then you’ll start to gradually incorporate the flour and knead the resulting dough until it no longer sticks to your hands – this requires about 5 minutes of active kneading.
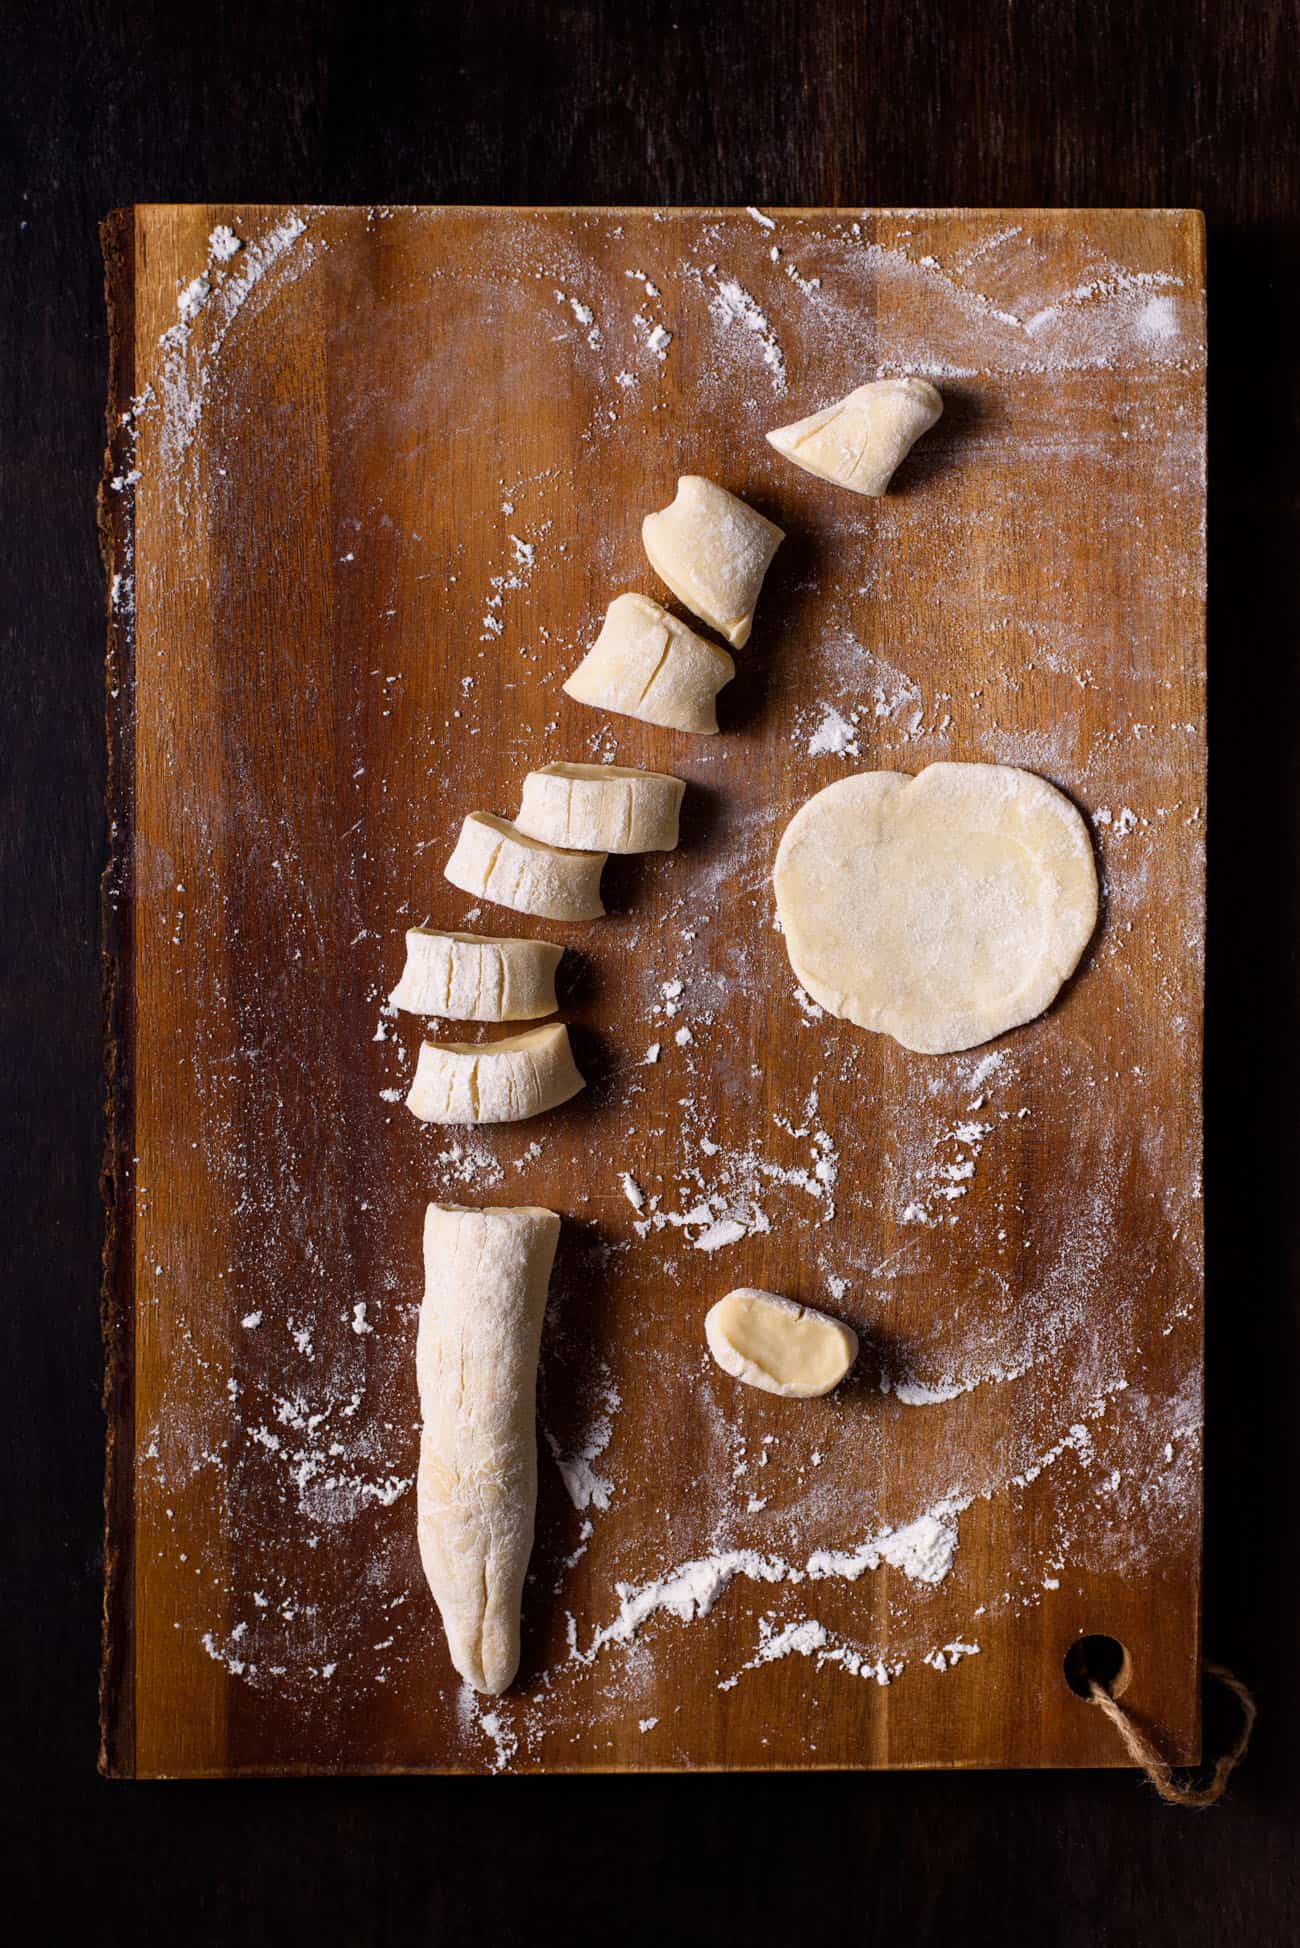
Rolling Out Varenyky Dough: 2 Options
There are two ways to roll and cut the circles of dough for the dumplings:
- The first (shown here) is to divide the dough into sections, roll them into thin logs with your hands, cut the logs into gnocchi-like shapes, and roll out the individual pieces into circles.
- The second (shown in this article I contributed to Mashed) is to roll the dough into big sheets and punch out the circles with an upturned glass or biscuit cutter.
Make-ahead Tips and Freezing Varenyky
Homemade varenyky is a labor-intensive pursuit. Although it’s relatively simple, it does require a sizable time investment so it’s faster and more fun to do it as a group – with someone on dough-rolling duty and others on filling duty. In fact, I advise doubling the recipe and freezing half of the varenyky for later.
To freeze, when the varenyky are formed, arrange them on a flour-coated tray or baking sheet, and place it in the freezer. When the varenyky are completely frozen (after at least a couple of hours or overnight), transfer the varenyky to an airtight bag/container and freeze for up to 6 months.
My boyfriend’s Polish relatives do this differently: they boil freshly-formed pierogi first, then freeze them. Then they fry them straight from the freezer. It’s all a matter of preference!

More Ukrainian recipes…
- Kompot (Homemade Fruit Drink)
- Buckwheat Kasha with Mushrooms
- Vegetarian Golubtsi
- Roasted Eggplant Spread (Ikra)
Let me know if you try this recipe! Give it a rating below and leave a comment, and don’t forget to tag your creation with @thenewbaguette on Instagram.
Print
Ukrainian Potato Varenyky Recipe
- Prep Time: 1 hour 45 mins
- Cook Time: 40 mins
- Total Time: 2 hours 25 minutes
- Yield: 35–40 varenyky 1x
- Category: Main Course
- Cuisine: Ukrainian
- Diet: Vegetarian
Description
This Ukrainian varenyky recipe has a traditional potato filling. (This dough recipe is adapted from Mamushka by Olia Hercules [Weldon Owen, 2015])
Ingredients
For the Dough
- 1 egg (see note below for a vegan version)
- 2/3 cup water
- 1/2 teaspoon fine sea salt
- About 2 1/2 cups all-purpose flour, plus more for dusting
For the Filling
- 2 pounds russet potatoes (4 medium or 6 small), peeled and cut into 1/2-inch chunks
- Fine sea salt
- 2 tablespoons extra virgin olive oil
- 2 medium yellow onions, diced
- Freshly ground black pepper, to taste
- Unsalted butter, for serving
- Sour cream, for serving
Instructions
- Start the dough. Combine 1 egg, 2/3 cup water, and 1/2 teaspoon salt in a large bowl, and whisk to incorporate the egg into the water. Add 1 cup flour, mix lightly to incorporate, then add 1 1/4 cups more flour. Combine into a shaggy dough.
- Knead the dough. Turn the dough out onto a floured surface. Knead with the heels of your palms – giving the dough a quarter turn every now and then – for about 5 minutes, incorporating the remaining 1/4 cup flour as needed. The dough is done when it’s smooth, elastic, and no longer sticks to your hands. Place the dough back in the bowl, cover loosely with a kitchen towel, and rest for 30 to 60 minutes at room temp.
- Meanwhile, start the filling. Place the potatoes in a pot with 1 teaspoon salt and enough water to cover by about 2 inches. Cover, bring to a boil, reduce the heat to low, and simmer with the lid ajar until the potatoes can be pierced easily with a fork, 12 to 15 minutes.
- Meanwhile, heat 2 tablespoons oil in a large skillet over medium heat. Add the onions and cook, stirring frequently, until they’re dark brown and a bit crispy, about 15 minutes. Set the skillet aside.
- Finish the filling. Drain the potatoes and return to the pot. Mash until smooth. Stir in about a third of the fried onions with their oil. Season to taste with salt and pepper. Cool the mixture to room temp.
- Roll out the dough. Divide the dough into 4 pieces. Working with 1 piece at a time (keeping the remaining dough covered with the towel), roll the dough between your palms into a 1-inch-thick log. On a floured surface, cut the log into 8 to 10 1-inch pieces. Using a rolling pin dusted with flour, roll out each piece into an approximately 3-inch circle; if the dough is sticking to the surface or rolling pin, dust it with more flour.
- Form the varenyky. Working with 1 circle of dough at a time, place a heaping teaspoon of the filling into the center. Gather the dough into a half-moon shape around the filling and pinch the top closed, then pinch both edges closed. Place the shaped varenik on a well-floured baking sheet or cutting board, and continue filling the rest. Make sure the varenyky are not touching – otherwise, they’ll stick together.
- Boil the varenyky. Bring a large pot of water to a boil and salt it generously. Boil the varenyky in batches – 6 to 10 at a time, depending on the size of your pot. Cook them for 2 to 3 minutes – they are done when they’ve floated to the surface, the water has returned to a simmer, and they’ve simmered for about 1 minute. Do not overcook, as the filling may escape the dough.
- Using a small mesh strainer or slotted spoon, fish the varenyky out and place in a large bowl. Immediately add a small pat of butter (or drizzle of oil) and gently toss to prevent the varenyky from sticking together. Continue cooking the remaining varenyky. At the end, add all the remaining fried onions to the bowl and toss to coat.
- Serve immediately, alongside sour cream.
Notes
For a vegan version, use 1 tablespoon oil instead of the egg. Serve with vegan sour cream or vegan Greek-style yogurt.
Nutrition
- Serving Size: 10 varenyky
- Calories: 450
- Fiber: 7.1 g
- Protein: 11.5 g


David says
Thanks a lot for the recipe! It’s interesting that you wrote “from the motherland”, though – in Ukrainian we say “батьківщина” or “fatherland”. “Motherland” is a Russian term.
Alexandra Shytsman says
Hi David. Thank you for pointing that out – I had no idea. My personal use of “motherland” comes more from American discourse, actually. I came to the States when I was 9, grew up speaking Russian in Ukraine, and unfortunately have minimal knowledge of the Ukrainian language.
David says
No problem! I still appreciate the recipe in English!
Skyler says
I assume I can freeze them on a sheet tray after boiling for later to be fried?
What I don’t know is should I still fully boil them or should I Parboil then reboil from frozen briefly (or should I just pan fry from frozen)?
Alexandra says
Hi Skyler! Great question. Boil them fully, place on a sheet tray (covered with parchment if possible, for extra insurance against sticking), and bring to room temp. Then freeze. Pan fry directly from frozen. Let me know how it works out 🙂
Tami says
These dumplings were amazing! A lot of work but so worth it.
Alexandra says
I’m glad you enjoyed them!
Sonia says
I made this recipe but I added a tub of cottage cheese to the potatoes I remember my mother doing that as they were delicious. I served with Greek yoghurt and fried onions and liked it much better than sour cream.
Alexandra says
Hi Sonia! Thank you for the feedback. My boyfriend’s Polish family also mixes the potatoes with cheese 🙂
Joyce Chupa says
Love varenyky! Especially With Kapusta and mushrooms, My mom and grandma made them. I never did so this gives me a chance to try my hanD at making them. How about doing a pompushki recipe? I loved those Filld with prune,
Alexandra says
Hi Joyce! Glad you enjoyed this recipe. Pompushki were never big in our house but I should give them a go!